> For the complete documentation index, see [llms.txt](https://docs.subwallet.app/main/llms.txt). Markdown versions of documentation pages are available by appending `.md` to page URLs; this page is available as [Markdown](https://docs.subwallet.app/main/web-dashboard-user-guide/cold-wallet-management/attach-polkadot-vault-prev.-parity-signer-accounts/add-networks-in-polkadot-vault.md).
# Add networks in Polkadot Vault
{% hint style="success" %}
Polkadot Vault supports 3 networks by default: **Polkadot, Kusama, and Westend.**
{% endhint %}
To add more networks, you can scan a **trusted** spec QR code and a metadata QR fountain. Below are the detailed instructions:
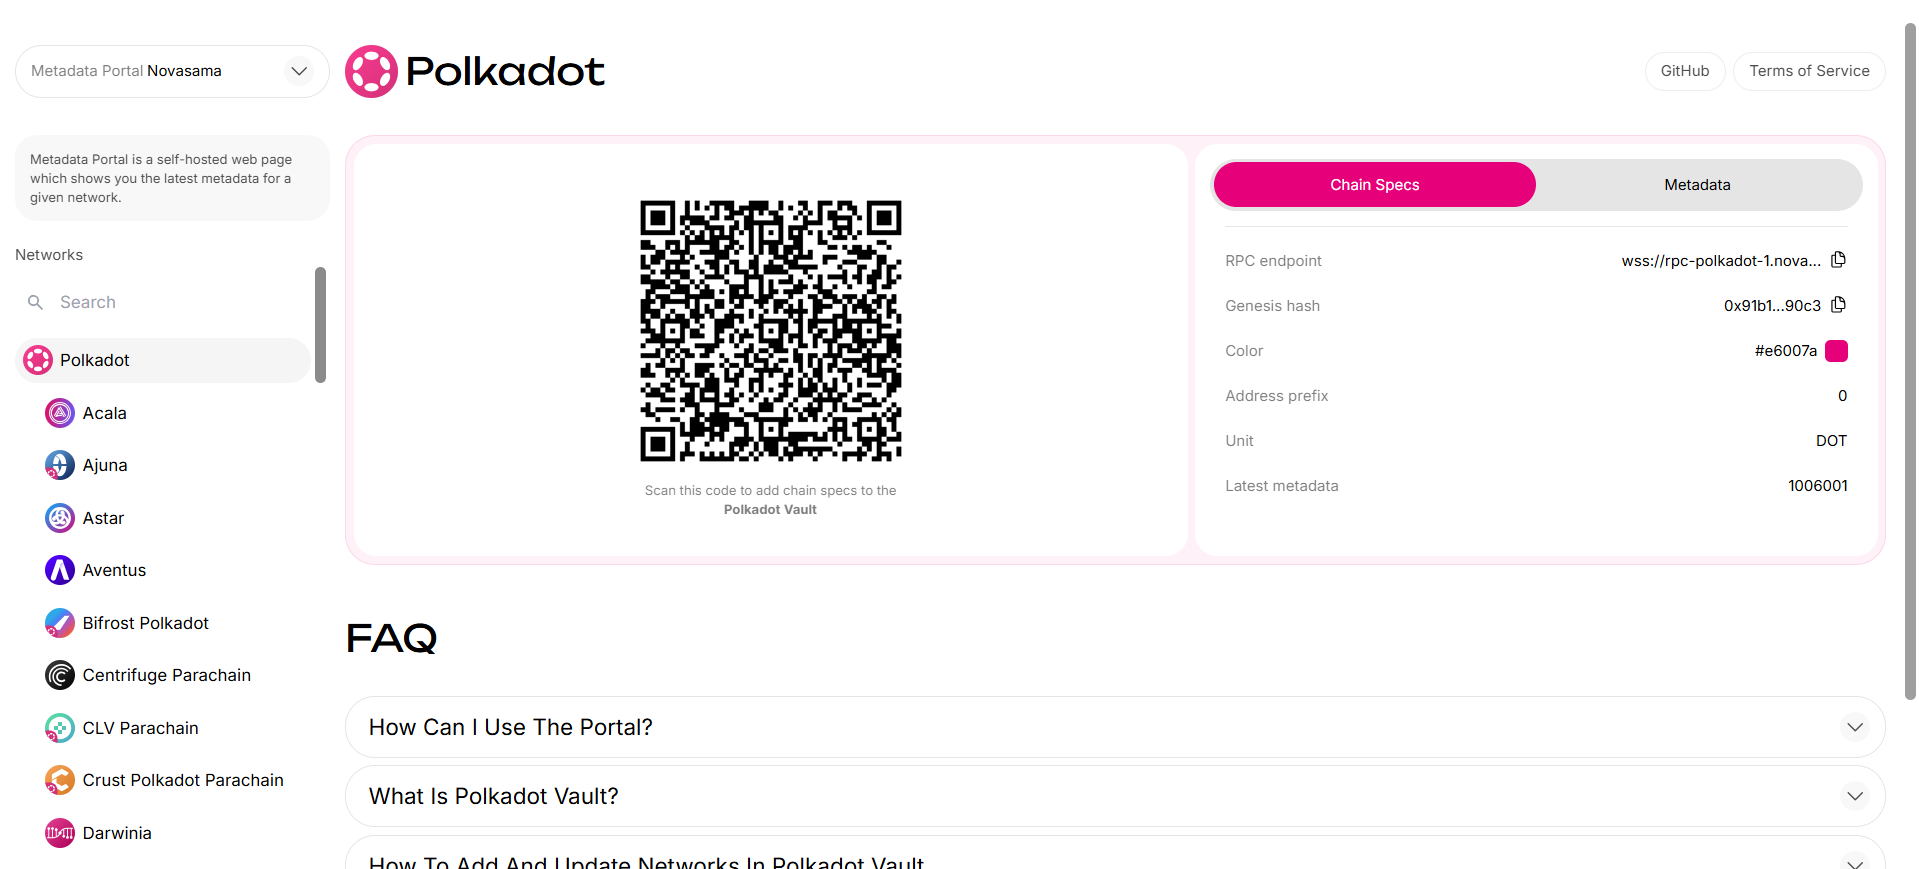
**Step 1**: Navigate to the [Novasama Metadata Portal](https://metadata.novasama.io/#/polkadot). The interface should be like the image below.
{% hint style="info" %}
This should be done on a device that is **not** your Polkadot Vault device (PC recommended).
{% endhint %}
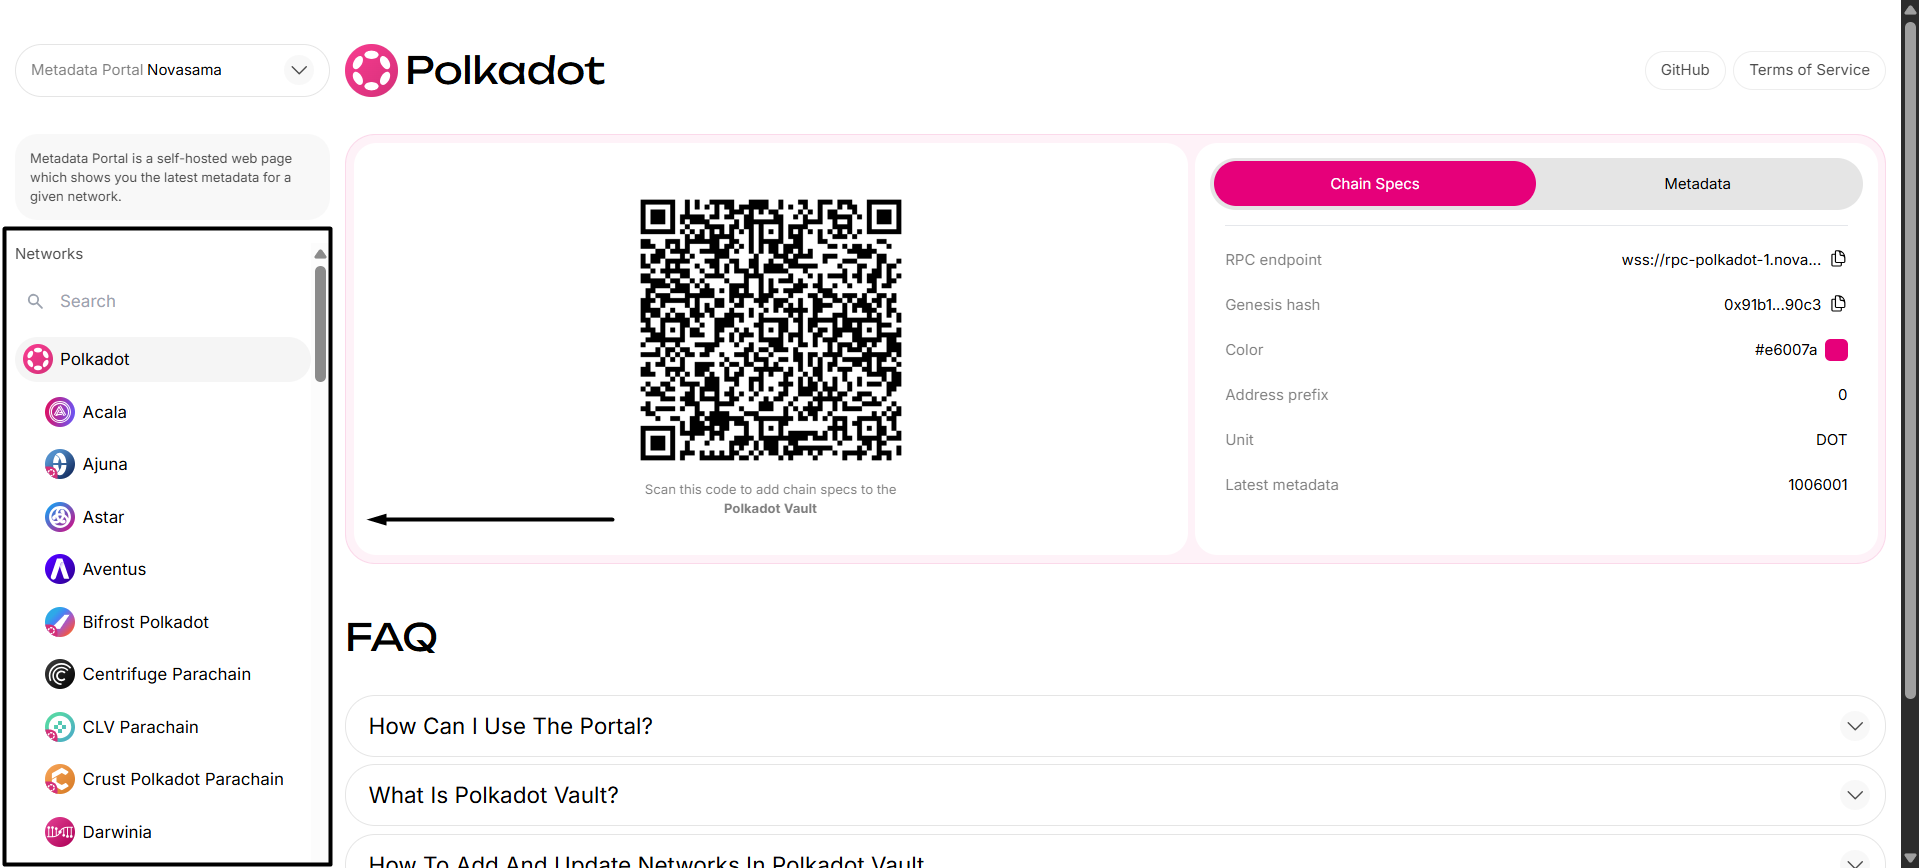
**Step 2**: Choose the network you want to add in the **Network** tab on the sidebar.
{% hint style="info" %}
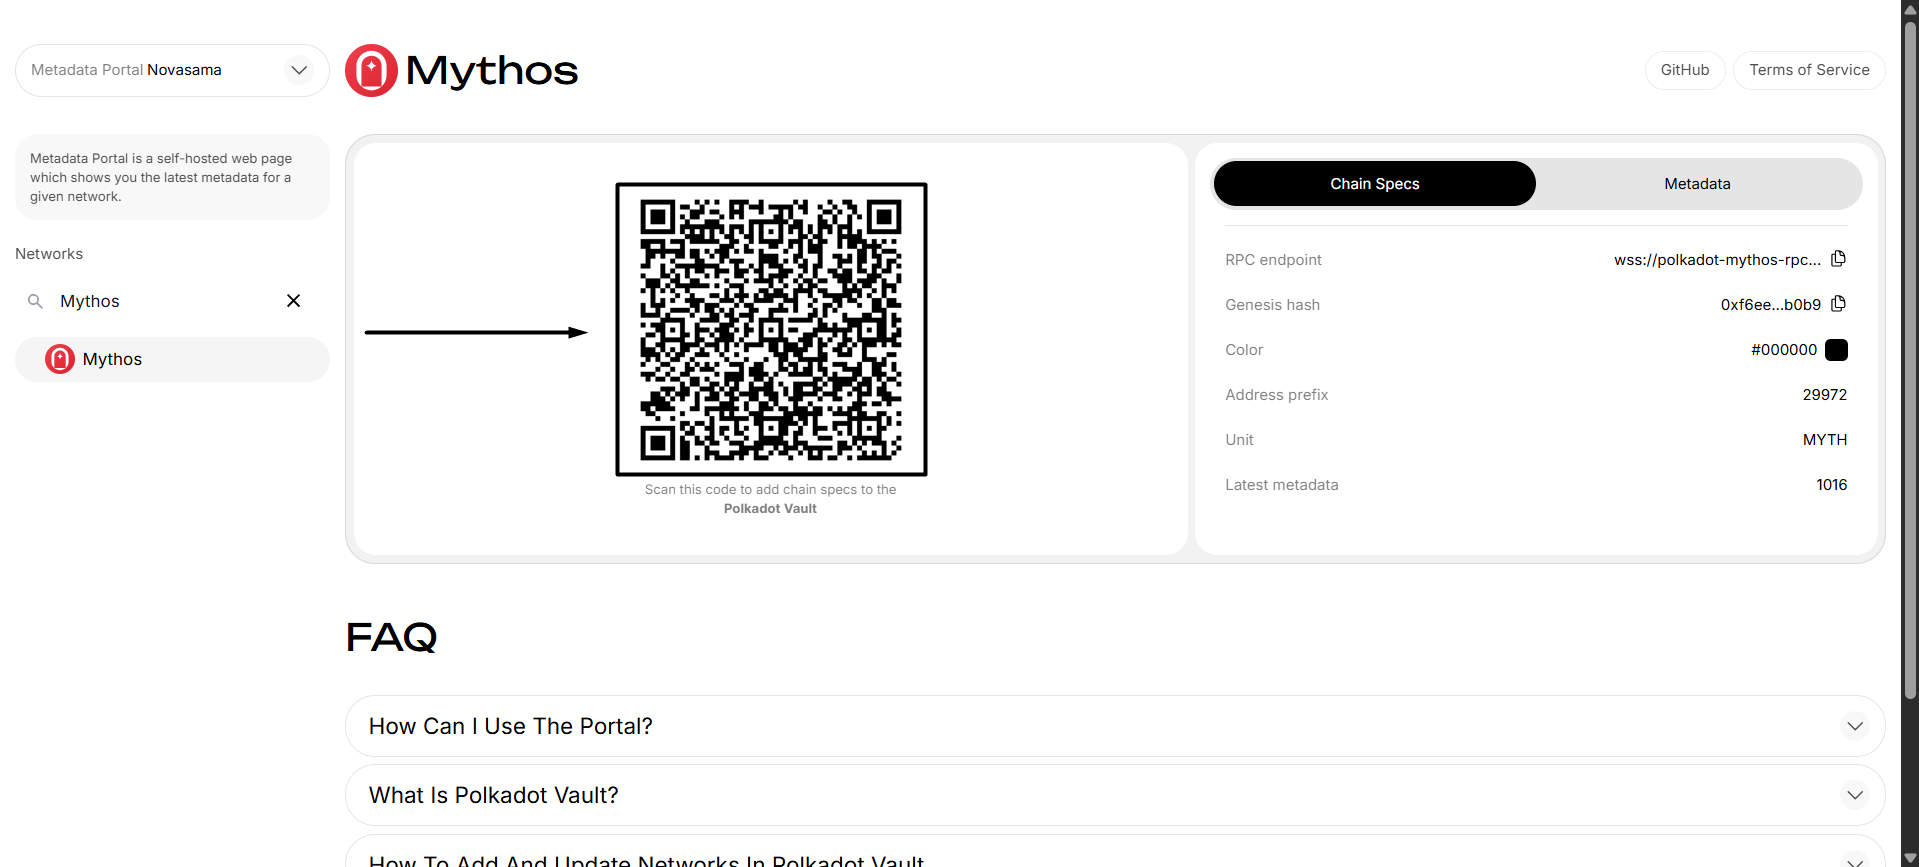
To make it easier, type the network you want to update in the **Search** bar.
*In this case, we want to add the Mythos network.*

{% endhint %}
You will see a QR code, which will be used to add the corresponding network to your account.
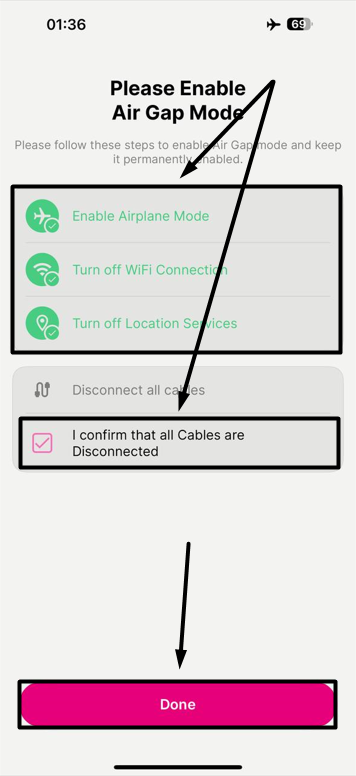
**Step 3**: Open the Polkadot Vault app. Make sure you have enabled Air Gap mode. Once done, click "**Done**".
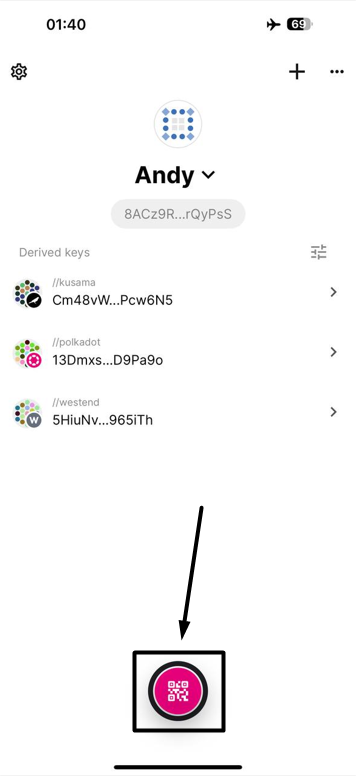
**Step 4**: In the app, click on the "**Scan QR code**" button at the bottom of the screen.
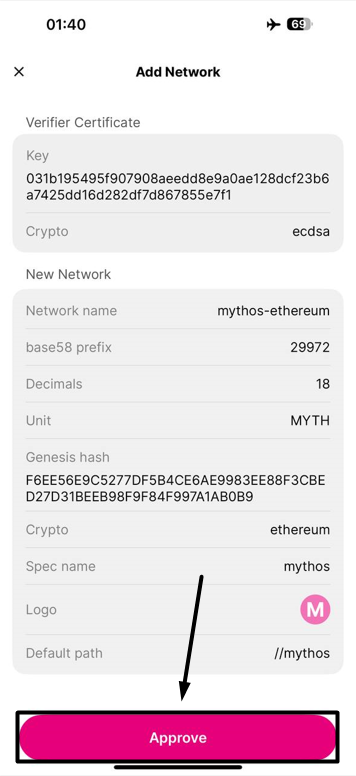
**Step 5**: Scan the QR code in Step 2 to add the network. Once you've completed, review the verifier certificate and select **"Approve**".
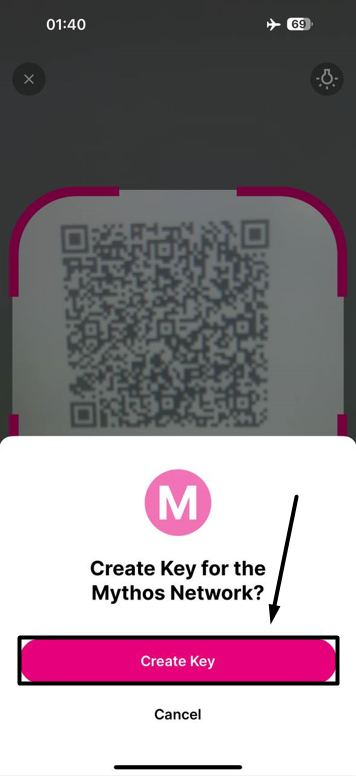
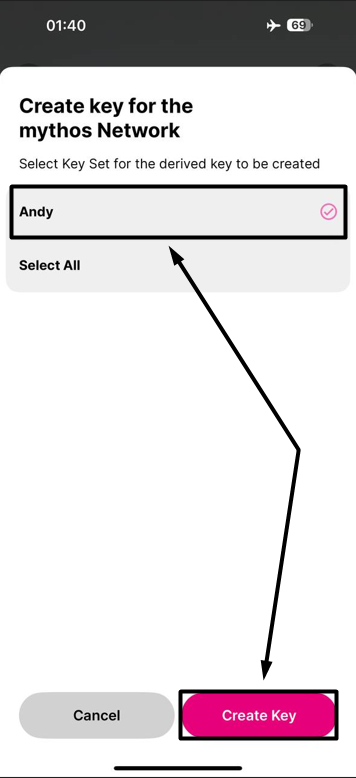
**Step 6**: After approving the addition of the new network, you'll be prompted to create a new key (account) for that network.
{% hint style="info" %}
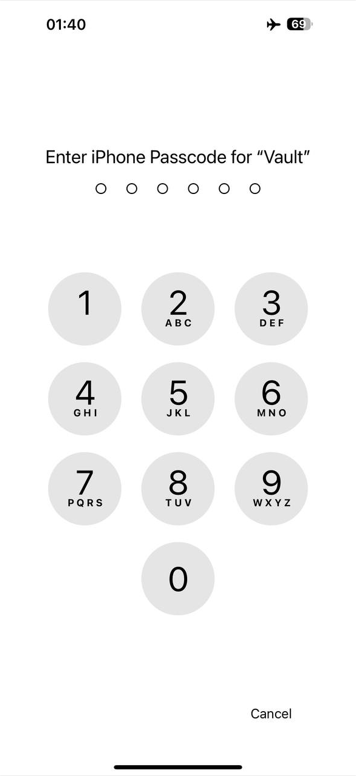
Your phone's passcode might be required to complete this procedure.
{% endhint %}
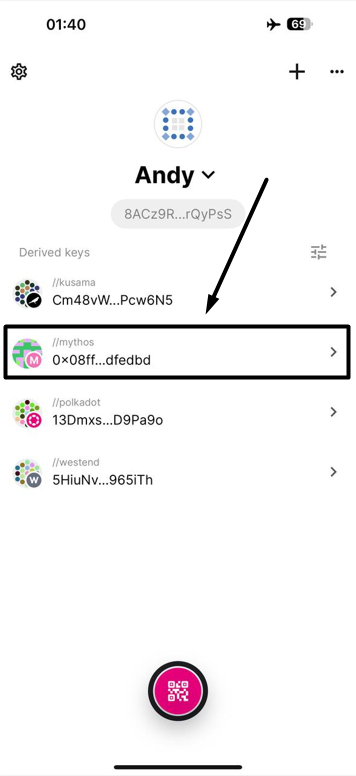
**Step 7**: You have successfully added the network to Polkadot Vault! It will be added to the main tab under the selected key set.