---
description: Get a handle on organizing and running your customized networks with ease.
---
# Manage custom networks
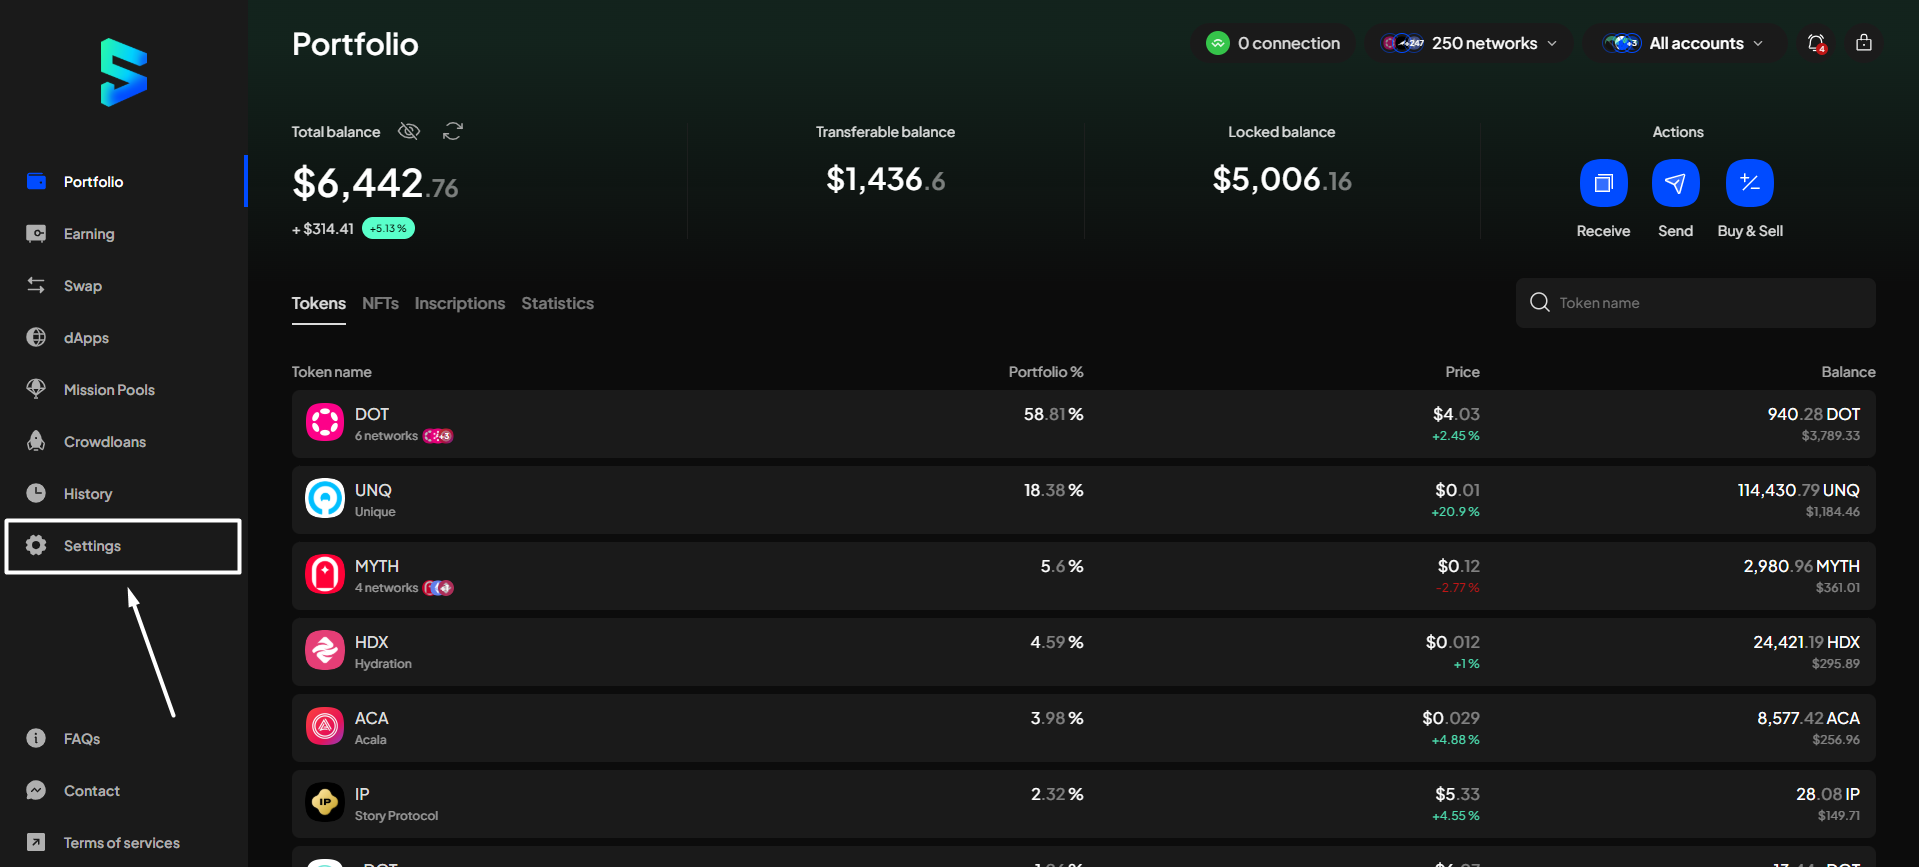
**Step 1**: On the SubWallet homepage, select the **Settings** tab on the sidebar to get to the settings.
**Step 2**: In the Settings screen, choose "**Manage networks**".
**Step 3**: Scroll down the network list or type the network name to find your custom network.
_In this example, we will manage the "**Basecamp**" network - an EVM network._
Depending on what suits your needs, choose the appropriate tab:
{% tabs %}
{% tab title="Edit network information" %}
{% hint style="warning" %}
Once a network is imported onto SubWallet, you can only edit its information by:
* Adding another network's provider URL
* Adding the network's block explorer
{% endhint %}
**Step 4**: Click the pencil icon to get to the Network detail screen.
**Step 5**: In the Network detail screen, add another provider URL or add the network's block explorer.
{% hint style="info" %}
To add another provider URL, click on the "**+**" button at the upper right corner of the screen, then add your selected provider URL. Once done, click "**Save**".
\
\
Once done, click "**Save**".\

{% endhint %}
{% hint style="info" %}
To add the network's block explorer, enter the corresponding explorer's site in the **Block explorer** field.
\
\
Once done, click "**Save**".\

{% endhint %}
{% endtab %}
{% tab title="Remove custom networks" %}
**Step 4**: Find the network you wish to remove and disable the toggle next to its name.
**Step 5**: Click the icon to get to the Network detail screen.
**Step 6**: In the Network detail section, click the icon at the top right corner of the screen.
**Step 7**: A pop-up will appear. Choose "**Remove**" to confirm the removal.
You've successfully removed the network! It won't be found in the network list anymore.
{% endtab %}
{% endtabs %}


 icon to get to the Network detail screen.

 icon at the top right corner of the screen.


