> For the complete documentation index, see [llms.txt](https://docs.subwallet.app/main/llms.txt). Markdown versions of documentation pages are available by appending `.md` to page URLs; this page is available as [Markdown](https://docs.subwallet.app/main/mobile-app-user-guide/cold-wallet-management/connect-keystone-devices.md).
# Connect Keystone devices
This document will show you how to connect a Keystone device to SubWallet.
**Step 1**: Open your Keystone device and have the QR code ready.
**Step 2:** On the SubWallet homepage, hit the account name at the top of the screen to access the account selection tab.
**Step 3**: In the account selection tab, hit the button at the bottom right corner of the screen.
**Step 4**: Choose "**Connect a Keystone device**".
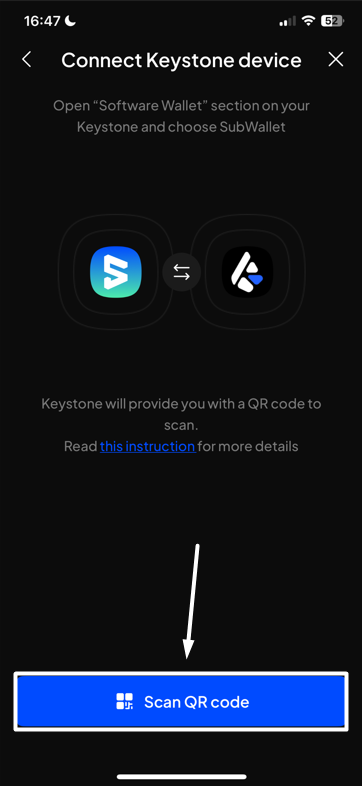
**Step 5**: Press "**Scan QR code**".
If you haven't granted camera access to SubWallet yet
In this case, once you hit the button, your device will show the following message:
Click "**Go to Settings**" to open your phone's settings.
On the settings screen, switch the toggle next to "**Camera**" to allow the camera access to the app.
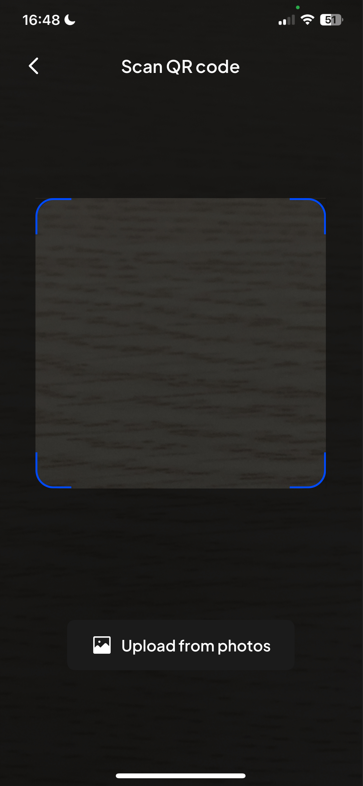
**Step 6**: Scan the QR code you have in **Step 1**, or upload an image containing this QR code using the "**Upload from photos**" option.
**Step 7:** Once the app recognizes the QR code, a popup will appear, asking you to enter the name of your account. Once done, hit "**Confirm**".
Your account is ready!

 button at the bottom right corner of the screen.


 Click "**Go to Settings**" to open your phone's settings.
On the settings screen, switch the toggle next to "**Camera**" to allow the camera access to the app.
Click "**Go to Settings**" to open your phone's settings.
On the settings screen, switch the toggle next to "**Camera**" to allow the camera access to the app.